Standing in the kitchen, the smell of roasted tri-tip brought back memories of family gatherings. Tri-tip was always on our dinner table, bringing us together. Today, I’m excited to share my method for cooking the perfect tri-tip roast. It’s sure to impress your loved ones and leave them wanting more.
Tri-tip is a versatile and affordable cut of beef. It has a robust flavor and tender texture, perfect for any occasion. This guide will help you achieve a flawless tri-tip roast every time, whether you’re a seasoned cook or just starting out.
Understanding What Makes Tri Tip Special
Tri-tip is a unique cut of beef known for its bold flavor and tender texture. It comes from the bottom sirloin and is full of marbling, perfect for roasting. Despite not being as famous as other steaks, tri-tip has a loyal fan base among meat lovers.
History of Santa Maria Tri-Tip
The tri-tip has a special place in California’s Central Coast, especially in Santa Maria. The Santa Maria style of cooking tri-tip is famous. It involves a simple dry rub and searing over high heat, highlighting the santa maria tri-tip‘s natural flavors.
Why Choose Tri Tip for Roasting
Tri-tip is great for roasting because it’s both tender and flavorful. It’s juicier than other roasts, making it perfect with different seasonings. Whether you like a classic tri-tip seasoning or something new, this cut will hit the spot.
Meat Grain and Its Importance
The muscle fibers, or “grain,” in tri-tip are key. They change direction in the middle, which affects how you slice it. Always cut against the grain for the best taste and texture.
Tri-tip stands out for its unique qualities, rich history, and versatility. It’s perfect for both classic Santa Maria dishes and new recipes. This remarkable cut will surely delight your taste buds.
Essential Equipment for Perfect Tri Tip Roast
To get the perfect tri tip roast, you need the right kitchen tools. First, an oven-proof skillet, like a cast iron pan, is key for searing the meat right. You also need a meat thermometer, digital or instant-read, to check the meat’s internal temperature.
For slicing the tri tip roast, a strong cutting board is a must. Tongs are useful for handling the meat while it cooks. And, having aluminum foil ready helps keep the roast juicy during cooking.
With these tools, you’re ready to make a delicious tri tip roast. It will highlight the flavor and tenderness of the beef tri-tip.
Remember, the key to a perfect tri tip roast is having the right tools at your fingertips.
Selecting the Best Cut of Tri Tip
Choosing the right tri tip roast is key to a great meal. This beef cut is known for its flavor and tenderness. It’s a favorite among home cooks and pitmasters.
In the meat aisle, you’ll find trimmed or untrimmed tri tips. Each has its own benefits.
Choosing Between Trimmed and Untrimmed
Trimmed tri tips are leaner, with less fat. This makes them easier to cook and carve. They also have fewer calories.
On the other hand, untrimmed tri tips are juicier and more flavorful. They keep more of their natural fat and marbling.
Whether to choose trimmed or untrimmed depends on your taste and cooking method. Trimmed is better for a healthier option or when searing and roasting. Untrimmed is ideal for grilling or slow-cooking, for more flavor and tenderness.
What to Look for at the Butcher
Look for a tri tip that’s deep red and marbled. It should weigh 2 to 3 pounds for generous servings. Most stores and butchers carry tri tip, so shop around for the best quality and price.
| Beef Cut | Characteristics | Best Cooking Method |
|---|---|---|
| Chuck | Rich flavor, tough texture | Slow cooking (braising, stewing) |
| Rib | Tender, ideal for dry heat | Grilling, roasting |
| Loin | Extremely tender, best for high heat | Grilling, broiling |
| Sirloin | Flavorful, versatile | Grilling |
| Round | Lean, less tender | Slow cooking (braising, stewing) |
| Brisket, Plate, and Flank | Tough, best for slow cooking | Braising, barbecuing |
| Shank | Toughest cut, best for soups and stews | Slow cooking |
Preparing Your Tri Tip for Cooking
To get the perfect tri-tip roast, you need to prepare it right. Start by letting the meat warm up to room temperature for 20-30 minutes. This makes sure it cooks evenly, giving you a better taste.
After it’s at room temperature, dry the tri-tip with paper towels. This helps it sear better and makes your seasonings stick better.
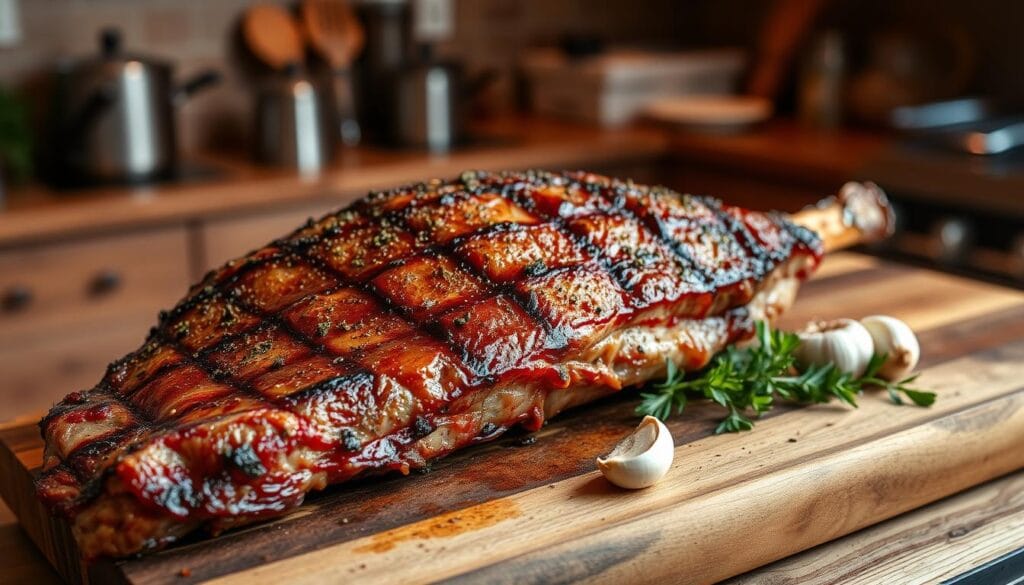
- For a classic tri-tip rub, mix your favorite spices and herbs like garlic, salt, black pepper, and thyme. Rub the tri-tip marinade all over the meat for even coverage.
- Or, marinate it in a mix of red wine, olive oil, and herbs. Let it soak for at least 30 minutes, or up to 4 hours for more flavor.
Getting your tri-tip ready for cooking is key to a perfect roast. By warming it up and adding a tasty seasoning or marinade, you’re on your way to a juicy, tender dish.
| Temperature | Doneness |
|---|---|
| 120°-130°F (49°-54°C) | Rare |
| 130°-135°F (54°-57°C) | Medium Rare |
| 135°-145°F (57°-63°C) | Medium |
| 145°-155°F (63°-68°C) | Medium Well |
| 155°F (68°C) and up | Well Done |
The best internal temperature for a tri-tip roast is 130°F (54°C) for medium-rare. For medium, it’s 140°F (60°C).
Creating the Perfect Seasoning Blend
Improving your tri-tip roast’s flavor begins with the right seasoning blend. A classic coffee dry rub is a favorite that enhances the tri-tip’s rich, beefy taste. This easy-to-make seasoning creates a tasty crust on the meat.
Classic Coffee Dry Rub Recipe
- 2 tablespoons coarsely ground coffee
- 2 teaspoons kosher salt
- 1 teaspoon freshly cracked black pepper
- 1 teaspoon garlic powder
- 1 teaspoon chili powder or smoked paprika
- 1/2 teaspoon cumin
Mix all the ingredients in a small bowl. Rub the seasoning blend all over the tri-tip roast, making sure to cover all sides evenly. For more flavor, let the seasoned tri-tip sit in the fridge for 30 minutes to an hour before cooking.
Alternative Seasoning Options
While the classic coffee dry rub is loved by many, there are many other seasoning options. Adding a pinch of cayenne pepper gives a subtle heat. Fresh herbs like rosemary and thyme add a traditional flavor. Even a simple mix of kosher salt and black pepper can highlight the tri-tip’s natural taste.
Try different spice mixes to find the perfect seasoning for you. With a bit of creativity, you can make a tri-tip roast that will wow your family and friends.
Mastering the Searing Process
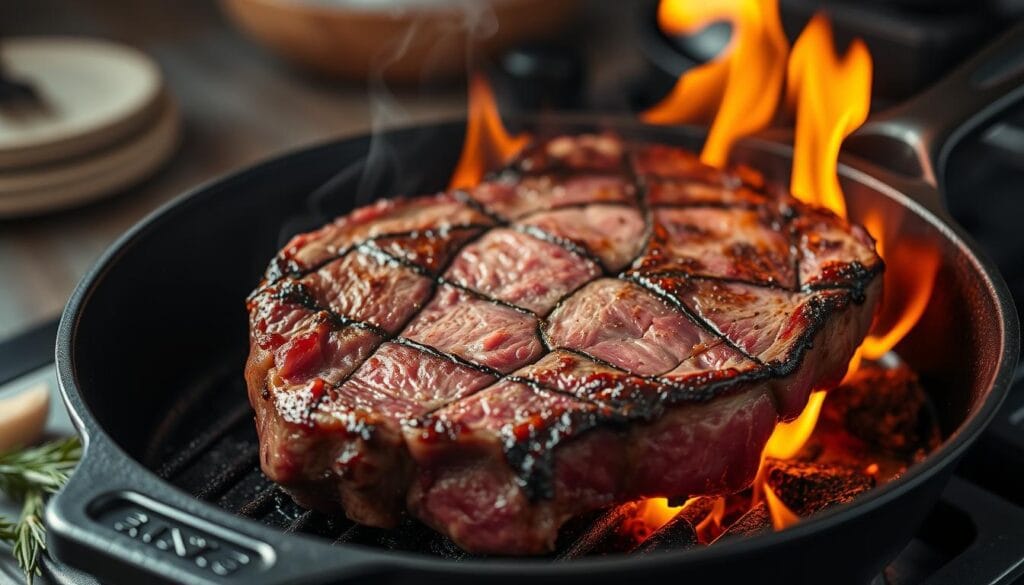
Getting the perfect sear on a tri tip roast is key to its full flavor. The sear creates a tasty crust that keeps the juices in. This makes your beef tri-tip taste better and feel more tender.
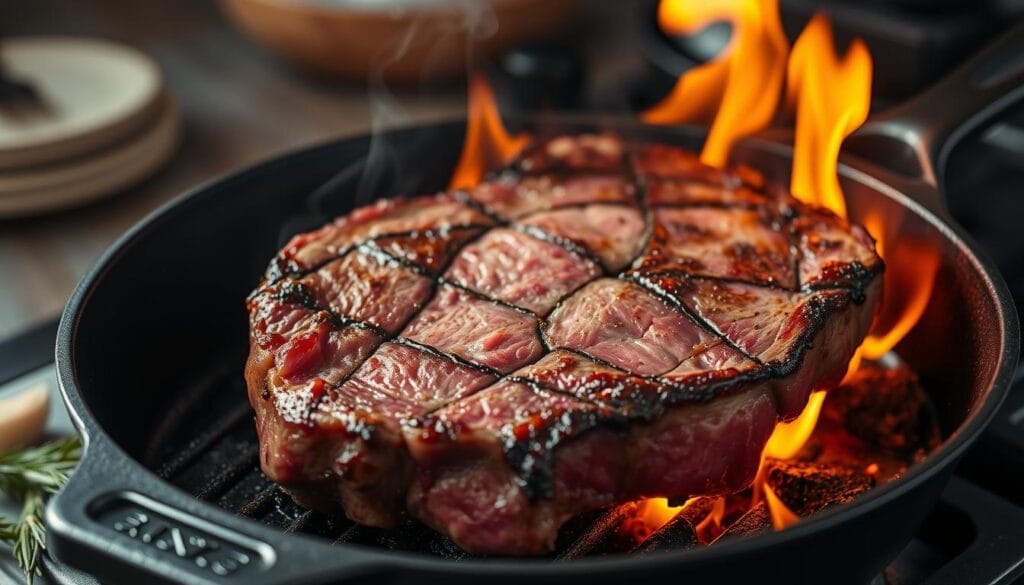
To get the sear right, start by heating a big, oven-safe skillet on medium-high. When it’s hot, add some olive oil and put the seasoned tri tip roast in. Sear each side for 2-3 minutes until it’s golden brown.
- Preheat the skillet over medium-high heat.
- Add a light coating of olive oil to the pan.
- Carefully place the seasoned tri tip roast into the hot skillet.
- Sear each side for 2-3 minutes, or until a deep, caramelized crust develops.
- Transfer the pan to the oven to finish cooking the roast at a lower temperature.
The high heat seals in the tri tip roast‘s juices and makes a delicious crust. This step is vital for the perfect mix of tenderness and texture.

“The secret to a great tri tip roast lies in the searing process. It’s the foundation that unlocks all the flavors and creates that irresistible crust.”
With a bit of practice and focus, you’ll get the hang of searing tri tip roast. Soon, you’ll be making restaurant-quality meals at home.
Temperature Guide for Tri Tip Roast
Getting the perfect internal temperature is key to a delicious tri-tip roast. The tri-tip, a triangular cut from the sirloin, is known for its marbling and tenderness. To cook your tri-tip roast perfectly, follow these temperature guidelines:
- Rare: 125-130°F
- Medium Rare: 131-140°F
- Medium: 141-150°F
- Medium Well: 151-160°F
- Well Done: 161-165°F
For the best results, aim for medium-rare to medium doneness. This will give you a juicy, flavorful, and tender tri-tip. The USDA says to cook to at least 145°F for food safety.
Using a Meat Thermometer Properly
To accurately check your tri-tip roast’s temperature, use a reliable meat thermometer like the Typhur InstaProbe. It’s fast, accurate, and waterproof, making it great for checking your tri-tip’s temperature.
Put the thermometer into the thickest part of the roast, avoiding bones or fat. Remember, the temperature will keep rising after you take it off the heat. So, pull it out a few degrees before your desired doneness. Let the tri-tip rest for 15-25 minutes before slicing. This will make it even more tender and flavorful.
Step-by-Step Oven Roasting Method
Getting the perfect tri tip roast in the oven is easy. Start by heating your oven to 375°F. This heat ensures your beef tri-tip roast cooks well and gets a nice crust.
After searing the tri-tip on the stovetop, put the skillet in the oven. Cook it for about 10-12 minutes per pound. For a 1.5-pound roast, aim for 15-17 minutes to get it medium-rare, at 130-140°F.
Using a meat thermometer is key. It helps you know when to take the roast out. This way, you get a juicy, tender, and tasty tri-tip every time.
| Desired Doneness | Internal Temperature |
|---|---|
| Rare | 115°F |
| Medium-Rare | 125-130°F |
| Medium | 135-140°F |
| Well-Done | 145°F |
Remember, the roast’s temperature will go up a bit after it rests. This resting time is important. It lets the juices spread out, making the meat tender and flavorful.
Follow these steps to become a pro at oven-roasted tri-tip. Serve it with your favorite sides for a great meal.
Tips for Achieving the Perfect Crust
Roasting the perfect tri-tip means getting a golden-brown crust. This is key to bringing out the full flavor of this amazing cut of beef. Here are some important tri-tip roasting tips to help you get it right.
Pan Selection and Heat Management
The pan you choose and how you control the heat are crucial. For the best crust, use a heavy-bottomed, oven-safe skillet like cast iron. These pans keep heat well, leading to even searing and browning.
Before putting in the tri-tip, make sure your pan is very hot. This ensures the surface is hot enough for the Maillard reaction, which creates that delicious crust. But watch the heat and adjust it as needed to avoid burning and get that golden-brown finish.
Don’t overcrowd the pan, as it can cause steaming instead of searing. If needed, cook in batches to give each piece enough room for a great crust.
“The secret to the perfect tri-tip crust is all in the pan selection and heat management. With the right tools and a keen eye, you’ll be able to achieve that restaurant-quality sear every time.”

By following these simple tri-tip roasting tips, you’ll be on your way to a showstopping tri-tip roast. It will have a crisp, flavorful crust that will impress your guests.
The Art of Resting Your Roast
Cooking the perfect tri tip roast is an art. The final step is letting it rest. After searing and roasting, let it rest for 5-10 minutes before slicing.
This resting time lets the juices spread out evenly. So, each slice will be juicy, tender, and full of flavor. To keep it warm, cover it with aluminum foil.
While it rests, make a garlic-herb butter. Melt butter, add minced garlic, fresh herbs, salt, and pepper. Drizzle this butter over the roast when it’s done. It adds richness and complexity to your tri tip roast.
“Resting the meat is crucial for allowing the juices to redistribute, resulting in a juicy, tender final product.”
Letting your beef tri-tip roast rest makes it even better. With patience and detail, you’ll get a tri tip roast that’s a true masterpiece.
Proper Slicing Techniques
Serving your tri tip roast right is all about how you slice it. Slicing against the grain makes it tender and flavorful. This simple trick changes the meat from chewy to soft and delicious.
Understanding the Grain Direction
The tri tip roast’s grain can change in the middle. It’s key to know the grain direction to slice right. Use toothpicks or a photo to guide you when slicing.
Optimal Slice Thickness
- Go for slices about 1/4 inch thick. This thinness lets the tri tip’s tenderness stand out.
- If the roast’s center isn’t cooked enough, just put it back in the oven for a few minutes after slicing the ends.
- Split the tri tip before slicing. Try to keep a 45-degree angle difference in the slices for a nice look.
While slicing your tri tip roast carefully is important, it’s not the only thing that matters. Just slicing it right, against the grain, makes it tender and tasty.
Mastering how to slice your tri tip roast brings out its natural flavors and textures. It’s a premium cut of beef, after all.
Serving Suggestions and Accompaniments
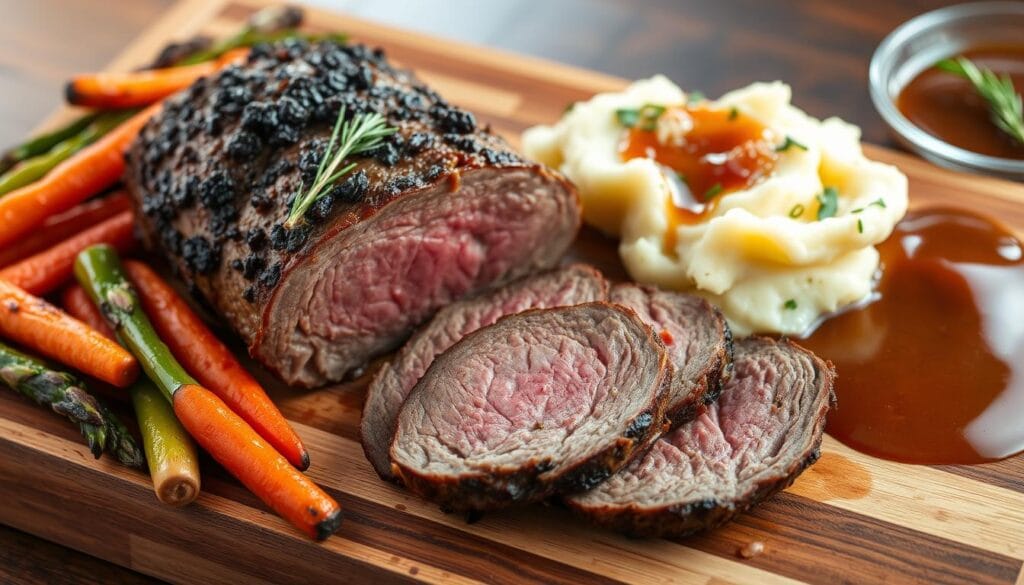
Make your tri tip roast meal even better with tasty side dishes. The beefy flavor of tri tip goes well with many flavors and textures. You can choose from roasted veggies, creamy mashed potatoes, and more.
Think about sides that soak up the tri tip’s juices, like garlic bread, jasmine rice, or mashed potatoes. For a sweet contrast, try sweet potato fries or mac and cheese. For a savory taste, sautéed mushrooms, French onion soup, or baked ziti are great choices.
Add some fresh elements to your meal, like a green salad or steamed broccoli. For a true BBQ feel, serve your tri tip with baked beans and cornbread.
| Side Dish | Flavor Profile | Popularity |
|---|---|---|
| Garlic Bread | Buttery, garlicky | Top 10 favorite |
| Jasmine Rice | Fluffy, mildly savory | Top 10 favorite |
| Mashed Potatoes | Creamy, buttery | Top 10 favorite |
| Sweet Potato Fries | Sweet, crispy | Highly recommended |
| Mac and Cheese | Creamy, savory | Highly recommended |
Offering a variety of sides makes your meal complete and satisfying. Whether it’s a backyard BBQ or a family dinner, these suggestions will make your beef tri-tip meal unforgettable.

Storage and Leftovers
After enjoying your perfectly cooked tri-tip roast, it’s crucial to store leftovers right. This ensures they stay fresh and tasty. Follow a few simple steps to keep your tri-tip in top condition.
First, let the tri-tip cool down completely before storing. Once it’s cool, put it in an airtight container or wrap it in foil. Store it in the fridge for 3-4 days.
If you want to keep it longer, freeze the tri-tip roast. Just wrap it and put it in the freezer for up to 6 months. When you’re ready, thaw it in the fridge overnight before reheating.
To reheat, gently warm the tri-tip in a skillet over medium heat. Add some beef broth to keep it moist. Or, reheat it in a 300°F oven until it’s 140°F inside.
After reheating, slice the tri-tip thinly. It’s great in sandwiches, salads, or stir-fries. With the right storage and reheating, you can enjoy your tri-tip roast for days.
Troubleshooting Common Problems
Cooking the perfect tri-tip roast is a delicate task. But with the right techniques and attention to detail, you can avoid common pitfalls. One common issue is overcooking, which makes the roast dry and tough. To avoid this, use a meat thermometer to check the internal temperature. Pull the tri-tip from the oven or grill when it hits 135°F for a perfect medium-rare finish.
On the other hand, undercooking can also be a problem. It leaves the center of the roast undercooked. If this happens, just return the tri-tip to the oven or grill until it reaches your desired doneness. This is usually between 135°F and 145°F.
Another challenge is dealing with tough, chewy meat. Make sure to slice the tri-tip against the grain. This helps break down the muscle fibers, making the meat more tender. If the meat is still tough, try marinating it for at least 4 hours or use a meat tenderizer before cooking.
- Use a meat thermometer to monitor internal temperature and avoid overcooking
- Slice the tri-tip against the grain for a more tender texture
- Marinate the meat for at least 4 hours or use a tenderizer for tough cuts
By tackling these common issues and following best practices, you’ll be on your way to a perfect, juicy, and flavorful tri-tip roast every time.
“The detailed dry brining process and cooking technique provided a tender and flavorful result.”
Conclusion
Learning to cook the perfect tri tip roast is within reach. This guide has shown you how to pick the best beef tri-tip and how to sear and roast it. It’s all about seasoning, controlling the temperature, and letting it rest.
With a bit of practice, you’ll make tri tip roast that’s both juicy and full of flavor. It doesn’t matter if you’re grilling, roasting, or slow-cooking. The secret is to know the meat and adjust your cooking methods. Don’t be afraid to try new things and enjoy your successes.
The journey to mastering tri tip roast is just as fun as the end result. Take your time, enjoy the taste, and share your dishes with others. Bon appétit!
FAQ
What is tri-tip and what makes it a special cut of beef?
Tri-tip is a flavorful and tender cut from the bottom sirloin. It has a unique grain pattern and the right amount of marbling. This gives it a hearty, beefy flavor. It’s a popular choice for roasting because of its texture and affordability.
Why is Santa Maria tri-tip so renowned?
Santa Maria tri-tip is famous for its rich history and flavor. It’s a favorite among barbecue lovers for its exceptional taste and texture.
What equipment is needed to cook the perfect tri-tip roast?
You’ll need an oven-proof skillet, like cast iron, a meat thermometer, a cutting board, and tongs. A probe thermometer is also helpful for checking doneness.
How should I select the best tri-tip for roasting?
Choose a tri-tip with good marbling and a deep red color. You can pick a trimmed or untrimmed version. Tri-tip roasts usually weigh between 2-3 pounds.
How do I prepare the tri-tip before cooking?
Bring the tri-tip to room temperature 20-30 minutes before cooking. Pat it dry and season or marinate it. Let it rest for at least 30 minutes, or up to 4 hours with a marinade.
What is a classic coffee dry rub recipe for tri-tip?
A classic coffee dry rub includes coarsely ground coffee, salt, black pepper, garlic powder, chili powder, and cumin. Feel free to add other herbs and spices to suit your taste.
How do I sear the tri-tip before roasting?
Heat olive oil in a large skillet over medium-high. Add the seasoned tri-tip and sear each side for 2-3 minutes. This creates a flavorful crust.
What are the optimal internal temperatures for cooking tri-tip?
Tri-tip should be cooked to: Rare (120°-130°F), Medium Rare (130°-140°F), Medium (140-150°F), Medium-Well (150-160°F), and Well-Done (160-165°F). Aim for medium-rare to medium for the best results.
How do I roast the tri-tip in the oven?
Preheat your oven to 425°F. After searing, put the skillet in the oven. Cook for 10-12 minutes per pound, or until it reaches your desired temperature. For a 1.5-pound roast, bake for 15-17 minutes for medium-rare.
How do I ensure I get the perfect crust on the tri-tip?
Use a heavy-bottomed, oven-safe skillet like cast iron. Make sure the pan is hot before adding the meat. Avoid overcrowding to prevent steaming. Adjust the stovetop temperature to prevent burning while achieving a golden crust.
How should I slice the tri-tip roast?
Identify the grain direction and always slice against it for tenderness. Aim for thin slices, about 1/4 inch thick. If the center isn’t cooked enough, return it to the oven after slicing the ends.
How do I store and reheat leftover tri-tip?
Store cooled leftover tri-tip in an airtight container or wrapped in foil in the fridge for 3-4 days. Freeze for up to 6 months. Reheat gently in a skillet with a splash of beef broth to prevent drying out. Slice thinly for sandwiches or salads.
What are some common issues with cooking tri-tip and how can I avoid them?
Common issues include overcooking, undercooking, or tough meat. Use a reliable meat thermometer and pay attention to cooking times. Always slice against the grain. If the center is undercooked, return it to the oven. For tough meat, ensure you’re slicing correctly and consider marinating or using a meat tenderizer next time.


Comments are closed.